
How to Screed a Floor: The Complete Guide to a Smooth, Level Surface
Luke Harrison2025-05-13T20:18:27+01:00Screeding a floor is a vital step in any flooring preparation process — whether you’re installing tiles, carpet, vinyl, or other flooring products.
A professionally screeded floor ensures a level, even, and durable foundation that prevents issues with floor finishes later. In this guide, we cover everything you need to know about how to screed a floor, including traditional and self-levelling screeds, floor grinding, curing, and the tools that help get it done right.
Step 1: Preparing the Subfloor for Screed
Proper subfloor preparation is essential before applying any type of screed. Whether you’re a flooring contractor or a DIY Screeder, skipping this stage can lead to cracking, delamination, or uneven results.
- Clean the surface thoroughly: Remove all dust, adhesive, paint, oil, or laitance.
- Repair any cracks or damage: Fill holes and gaps to ensure a flat, even surface.
- Dampen the base: A slightly damp surface prevents the screed from drying too quickly and cracking.
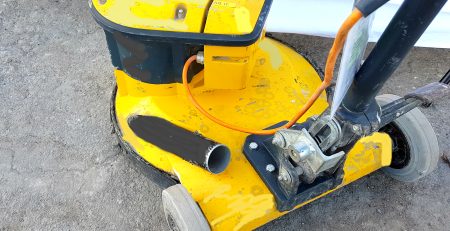
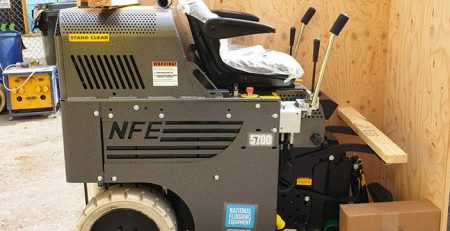
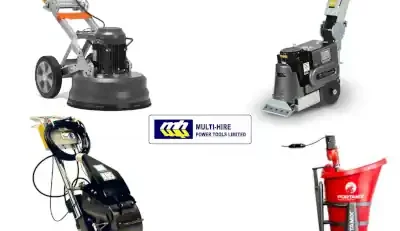
Floor Grinding for Subfloor Preparation
For concrete floors, floor grinding is one of the most effective methods to prepare the surface for screed. Using a professional floor grinder helps remove surface contaminants like glue, paint, or screed residues and opens the surface for maximum bond strength.
- Use diamond grinding tools appropriate for the floor hardness.
- Ensure the surface is left clean and textured – ideal for screed bonding.
- Floor grinding is especially important when preparing for self-levelling screeds or high-performance polished concrete overlays.
We supply high-quality surface preparation equipment including floor grinders, vacuums, and hand tools to ensure your floor is ready for the next stage.
View our full range of floor grinders to prepare a surface for floor screed.
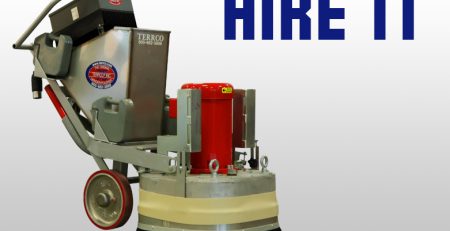
Step 2: Mixing Screed Correctly
Getting your screed mix right is essential for strength, workability, and longevity. A common mix ratio for traditional sand and cement screed is:
- 1 part cement to 4–4.5 parts sharp sand
- Add just enough water to bind — too much water weakens the mix and can cause shrinkage cracks.
For larger projects, use a forced action mixer like a Crete Angle or Portamix to achieve a consistent, high-quality mix every time.
✅ Pro Tip: Using the correct screed mixing equipment helps ensure your mix meets the required strength and flow characteristics for both bonded and unbonded applications.
Step 3: How to Apply Floor Screed
Once your screed is mixed, application must be timely and methodical.
- Mark your screed levels using laser levels or chalk lines.
- Pour and distribute the screed mix starting from the furthest point.
- Use a straight edge or screed rail to level the material in a smooth, controlled motion.
- Check your levels continuously using a spirit level or laser level system.
For bonded screeds, ensure the surface is primed or coated with a bonding agent.
🔧 Tip for Professionals & DIY Users: Wear knee protection and spiked shoes to maintain mobility and comfort while working with screeds.
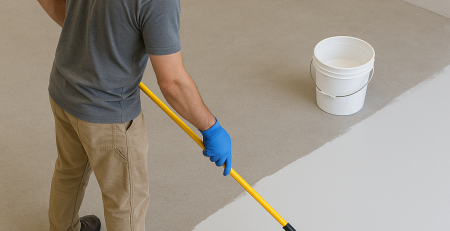
Step 4: Using Self-Levelling Screed
Self-levelling floor screeds are ideal for achieving ultra-smooth surfaces with minimal manual levelling.
- After floor grinding and priming, pour the self-levelling compound onto the floor.
- Use a smoothing trowel and spiked roller to help spread and remove air bubbles.
- Work quickly – these products set fast, usually within 20–30 minutes.
Self-levelling screeds are ideal for finishing concrete floors prior to installing resilient flooring, polished overlays, or epoxy systems.
Step 5: Curing and Drying the Screed
Proper curing is critical to prevent cracks and ensure a strong, durable screed layer.
- Traditional screeds may require 5–7 days to cure fully.
- Self-levelling compounds can set in 24–48 hours depending on product and conditions.
- Prevent rapid drying using plastic sheeting or light misting.
🕐 Important: Always follow manufacturer guidelines for drying times, especially before installing flooring systems or decorative overlays.
Expert Advice and Equipment for Screeding Success
Whether you’re preparing for a TRU overlay, laying carpet, or polishing concrete, the key to a successful screed is in proper subfloor preparation, using the right mixing tools, and applying the screed with precision.
We provide:
- Professional floor grinding machines
- Forced action mixers
- Screed tools and trowels
- Expert support and screeding training
From DIY screeding projects to large commercial fitouts, we’ve got the tools and knowledge to help you get it right the first time.
Conclusion: Set the Foundation Right with Expert Screeding Solutions
A smooth, level floor starts with the right screeding technique – and that begins with expert preparation, the correct mix, and high-performance equipment. Whether you’re using traditional sand and cement screed or a fast-setting self-levelling compound, every step matters in ensuring your flooring system is long-lasting and professional.
From floor grinding and mixing screed to applying self-levelling overlays, we supply the tools and training you need to succeed. With our full range of surface preparation equipment, including grinders, mixers, and screeding tools, we’re here to support flooring contractors, builders, and DIYers every step of the way.
Need help getting started?
👉 Contact us today for expert advice, equipment recommendations, or to book a training session.
📦 Ready to shop?
Explore our full range of floor preparation tools and machines online and get your next project off to a level start.