How to Prepare a Subfloor for Floor Paint: The Complete Guide to a Lasting Finish
Luke Harrison2025-05-26T18:47:58+01:00Painting a concrete floor can completely transform a space. Whether it’s a garage, warehouse, retail unit, or workshop. But the success of your floor paint depends on one critical step: proper subfloor preparation.
If your floor isn’t clean, dry, and sound, your paint will peel, bubble, or wear out long before it should. This guide covers how to prepare your subfloor for floor paint, from cleaning and repair to moisture control, priming, and choosing the right grinding equipment. Here is a guide on how to prepare your floor for paint.
✅ Step-by-Step: How to Prepare a Subfloor for Painting
🔹 Step 1: Clean the Surface Thoroughly
Remove:
- Dust, dirt, and loose debris
- Oil and grease with a degreaser
- Old adhesives, paints, or sealers
For best results, mechanical preparation is essential, especially if you’re using epoxy floor paint.
💧 Step 2: Moisture Testing and Damp-Proof Membranes (DPM)
🔍 Why Moisture Testing Matters
Trapped moisture is a leading cause of:
- Paint blistering
- Delamination
- Long-term failure
Use:
- RH probes (Relative Humidity)
- Calcium chloride tests
💡 When to Use a Surface Damp-Proof Membrane (DPM)
If moisture levels are too high but you can’t wait for full drying (common in new builds or basements), apply a liquid epoxy DPM.
Popular DPM systems:
🧱 Step 3: Repair Cracks and Surface Defects
Fix:
- Cracks and expansion joints (with epoxy or polyurea fillers)
- Pitted areas and spalled sections (with repair mortars)
- Uneven patches (use a screed or grinder to level)
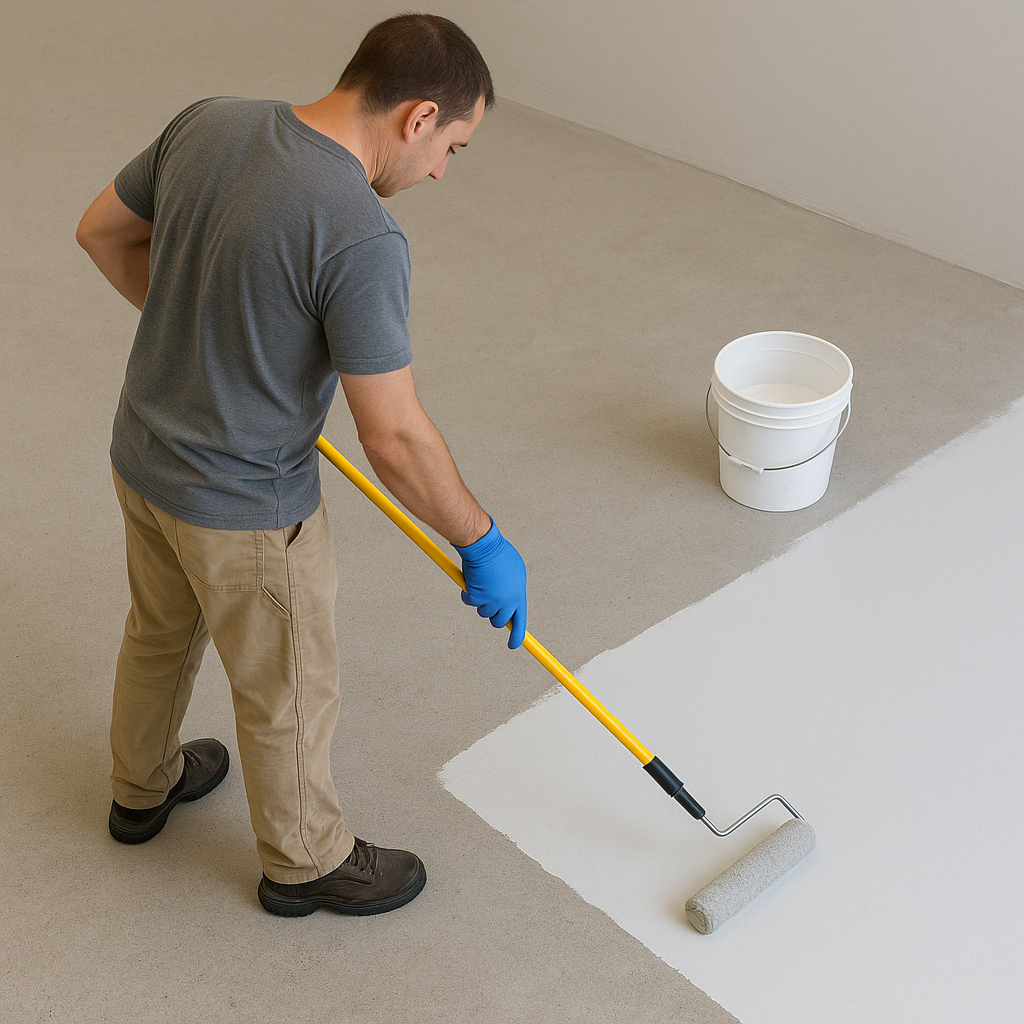
🧪 Step 4: Prime the Floor Before Painting
🎯 Why Priming Is Essential
Primers:
- Improve paint adhesion
- Reduce porosity
- Help seal minor dust
- Prevent topcoat absorption
Choose the right primer for the paint system:
- Acrylic paint: Acrylic primer or universal primer
- Epoxy paint: 2-part epoxy primer
- Polyurethane paint: Specific PU primer system
TIP: Many epoxy systems won’t bond to bare power-floated concrete, priming over a mechanically prepped surface is crucial.
🛢️ Painting Oily or Contaminated Surfaces
⚠️ Can You Paint Over an Oily Concrete Floor?
Short answer: No. Oil contamination is one of the worst enemies of floor paint.
🧼 How to Remove Oil Before Painting:
- Degrease thoroughly using a heavy-duty alkaline degreaser
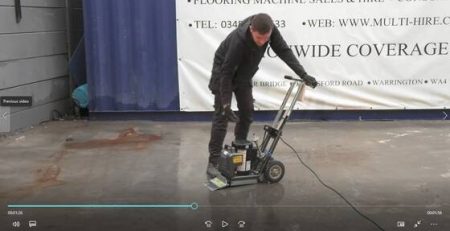
- Use a hot water scrubber or steam cleaner if possible
- Grind the surface with a diamond grinder to expose fresh concrete
- Repeat degreasing as needed, then retest the surface
Still unsure? Sprinkle water, if it beads up, contamination remains.
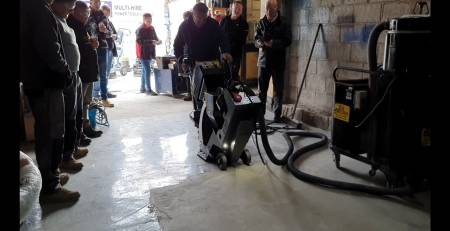
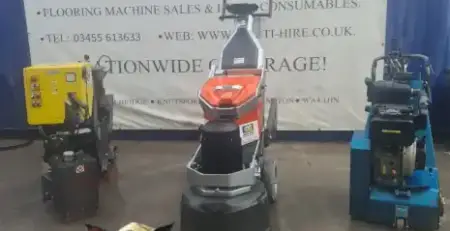
⚙️ Floor Grinding: Single Head vs Triple Head – And Why 415V Machines Deliver the Best Results
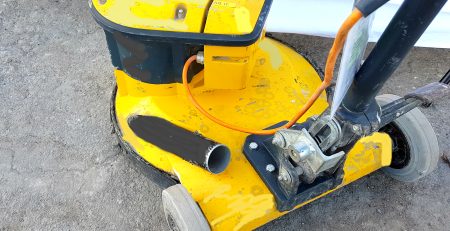
🧿 Why Use a Floor Grinder Before Painting Concrete?
Grinding removes:
- Surface laitance
- Sealers and old coatings
- Light oil contamination
- Smooth finishes (like power-floated concrete)
It also creates the correct CSP (Concrete Surface Profile) for your chosen coating system to bond properly.
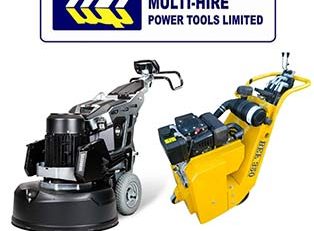
⚡ 415V Triple and Quad Head Grinders: The Gold Standard
For the best surface preparation before painting, 415V triple or quad-head planetary grinders are the go-to machines for professionals. They deliver:
- Consistent scratch pattern with full-floor coverage
- Superior flatness thanks to even head pressure and planetary motion
- Faster preparation on larger areas
- Less swirl marking, reducing time spent correcting or reworking
Best for:
- Commercial and industrial units, heavier removal
- Warehouse floors
- Showroom or epoxy coating jobs
- Anyone seeking professional-grade results
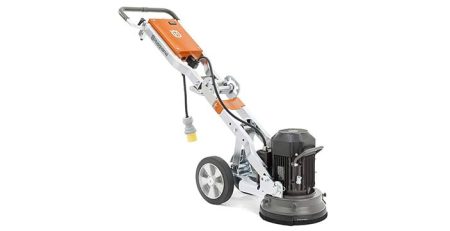
⚠️ Limitations of 110V Floor Grinders
While 110V grinders (commonly single-head or lightweight twin-head) are useful for:
- Small areas
- Domestic garages
- Tight spaces or low power supply sites
…they come with drawbacks when prepping for floor paint:
- Less torque and power — struggle with hard concrete or heavy coatings
- Narrow working width — slower on large areas
🏁 Summary: Choose the Right Grinder for the Job
| Grinder Type | Power | Best For | Limitations | |
| 110V Single Head | 110V | Small areas, tight spaces | Slow, limited depth, inconsistent finish | |
| Multiple Head 415V | 415V | Large floors, epoxy paint, overlays | Needs 3-phase power source | |
🚫 Common Mistakes to Avoid
- ❌ Painting over power-floated concrete without mechanical prep
- ❌ Skipping moisture tests – especially on new or underground slabs
- ❌ Failing to remove oil/grease properly
- ❌ Using the wrong type of primer or skipping it entirely
- ❌ Not using a DPM when needed
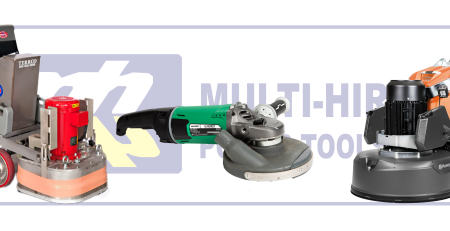
🛠️ Tools & Equipment You’ll Need for Floor Paint Preparation
From cleaning to grinding, here’s what you’ll likely need:
✅ Floor grinder (single or triple head)
✅ Vacuum with HEPA filters
✅ Degreaser or cleaner – If oily
✅ Crack repair mortar or epoxy(optional)
✅ Liquid DPM if moisture is present (optional)
✅ Compatible primer (optional)
✅ Rollers, trays, and protective gear
You can hire all of this equipment from Multi-Hire Power Tools, along with expert advice on choosing the right combination for your job.
✅ Final Thoughts: Prep Right, Paint Once
Getting a flawless, long-lasting painted floor isn’t about the brand of paint you use—it’s about the preparation. Grinding, degreasing, testing for moisture, applying DPM, repairing cracks, and priming are all vital steps in creating a floor that performs under pressure.
💬 Need Help with Floor Paint Preparation?
At Multi-Hire Power Tools, we supply:
- Grinders, blasters, and vacuums for hire
- Surface repair kits, primers, and DPM products
- Expert guidance from real-world flooring pros
- Training resources and walkthroughs
📞 Get in touch today or visit our showroom to speak with our floor preparation experts.