The Ultimate Guide to Shotblasting and How to use a Shot blaster
Luke Harrison2025-04-23T20:39:37+01:00Shot blasting a floor can be beneficial for several reasons, depending on the type of floor and the desired outcome. Here are some key reasons why you might choose to shot blast a floor:
- Surface Preparation: Shot blasting is an effective way to prepare a floor for coating, such as epoxy or polyurethane. It helps to create a rough, textured surface that ensures better adhesion of the coating or paint.
- Cleaning: It can be used to remove dirt, grease, old coatings, or other contaminants from the surface of the floor, leaving it clean and ready for further treatment or resurfacing.
- Concrete Repair: Shot blasting is often used to remove the top layer of concrete, exposing fresh, solid material underneath. This can help to level out or smooth rough concrete surfaces or fix damaged areas.
- Improved Safety: Shot blasting can be used to improve the traction of a floor, especially in areas where slippery conditions are common, such as industrial or commercial spaces. The process creates a textured surface that reduces the risk of slipping.
- Aesthetic Enhancement: If you want a more textured or industrial look, shot blasting can create a unique finish, making it ideal for decorative floors in spaces like warehouses, showrooms, or even some residential settings.
- Durability: Shot blasting can help to increase the overall longevity of a floor by removing weak layers and creating a stronger foundation for further treatment.
- Quick and Efficient: The process is relatively fast compared to other methods of surface preparation or cleaning. It can cover large areas quickly and effectively.
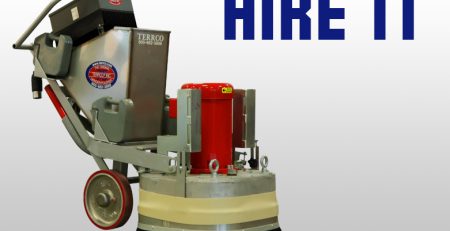
Which Shot Blaster do I Need?
Choosing the right floor shot blaster for your needs depends on a few important factors, including the type of floor you’re working with, the scope of the project, and the desired results. Here’s a guide to help you select the right shot blaster for your flooring project:
1. Consider the Type of Flooring
- Concrete Floors: If you’re working on concrete floors, shot blasting is one of the most effective methods for surface preparation. A medium to heavy-duty shot blaster will likely be required.
- Wood or Soft Floors: Shot blasters are generally not used on delicate surfaces like wood or rubber, as they may cause damage. If you need to prepare these surfaces, alternative methods such as sanding or grinding are better suited.
- Asphalt or Stone: Shot blasting works well on these surfaces, but you’ll need to choose a blaster based on how tough the surface is and the amount of coating or debris removal needed.
2. Assess the Size of the Area
- Small Areas: For small jobs (e.g., residential projects or small commercial spaces), a compact shot blaster or walk-behind model is ideal. These are typically lighter and easier to manoeuvre. Have a look at the A95 teamed up with the S3LP Vacuum.
- Large Areas: For larger commercial or industrial applications (e.g., warehouses, factories, or large parking lots), you may need a self-propelled shot blaster larger walk-behind unit with higher output. Medium sized jobs can use the A97 with the D80 vacuum. For large areas or heavy removal, you would need the A99 and Dust Collector.
- Compact models are easier to store and move but may require more time to complete larger jobs.
- Heavy-duty models offer greater coverage and are faster, which is ideal for larger spaces.
3. Define the Required Cleaning or Surface Preparation
- Surface Profile: Shot blasters are used to create a specific surface profile or texture. If you’re preparing the surface for coatings or overlays, choose a model that can achieve the required roughness or texture.
- Light cleaning: A smaller, less aggressive shot blaster that requires minimal surface profile is sufficient.
- Heavy coating removal: If you need to remove thick coatings (such as old paint or epoxy), a more powerful shot blaster with a higher abrasive capacity will be needed.
- Dust Control: Consider whether the shot blaster has an integrated dust collection system. This is especially important if you’re working indoors or in environments where dust control is necessary for safety and cleanliness.
4. Determine Power Source
- Electric-powered shot blasters: These are quieter and require less maintenance, making them ideal for indoor use. They are also easier to operate, but they may have limited mobility due to power cords. The A95 is 110v, the A97 and A99 are 415v.
5. Look at the Abrasive Media size
- Steel Shot: Steel shot is the most common abrasive media used in shot blasting and is typically the best option for concrete and asphalt. It’s durable and re-usable, making it cost-effective. 390 works with the A95, 460 is best used with the A97 and A98.
6. Evaluate the Blasting Width and Coverage
- Blasting Width: Shot blasters come with varying working widths, which can affect your efficiency. A wider machine will cover more surface area per pass, making it faster for large spaces. Narrower models are better suited for smaller or more confined areas.
A95 – 200 mm blast width
A97 – 270 mm blast width
A99 – 400 mm blast width
- Production Rate: The production rate (square footage covered per hour) should match your project’s timeline. Higher-end models will have a faster production rate, meaning they can handle more demanding projects efficiently.
7. Choose Based on Maneuverability and Ease of Use
- Weight and Size: If the blaster is too heavy, it can be difficult to manoeuvre, especially in tight spaces. Consider how easy it is to push or guide the blaster.
- Ergonomics: Look for a model that is comfortable to use, especially for extended periods. Adjustable handles or easy-to-reach controls can improve comfort and reduce fatigue.
- Turning Radius: A small turning radius is crucial for manoeuvring around obstacles and corners in smaller spaces.
8. Maintenance and Durability
- Ease of Maintenance: Check if the shot blaster is easy to clean and maintain. Machines that are easier to maintain will save you time and money in the long run.
- Durability: Consider the quality and durability of the construction materials. Machines built with high-quality components will last longer and withstand heavy use.
9. Budget
- Cost vs. Value: Shot blasters range in price from a few hundred to several thousand dollars, depending on the features, size, and power source. Consider how often you will use the machine and whether it makes sense to rent or buy.
- For occasional use or smaller projects, renting a shot blaster may be more cost-effective.
- For frequent, large-scale jobs, purchasing a high-quality machine may be more economical in the long run.
10. Read Reviews and Manufacturer Support
- Customer Reviews: Check reviews and testimonials from other users to understand the machine’s performance in real-world conditions.
- Warranty and Support: Look for a manufacturer with good customer service, warranty coverage, and parts availability.
Key Questions to Ask When Choosing a Shot Blaster:
- How large is the area you need to blast?
- What type of flooring are you working with?
- What surface texture or profile do you need to achieve?
- Do you need dust control features?
- Do you need a compact, portable machine, or a more heavy-duty model?
By answering these questions, you’ll be able to narrow down your options and choose the right floor shot blaster for your project. Whether it’s for small-scale residential work or large industrial applications, selecting the right tool will help ensure a more efficient and successful outcome.
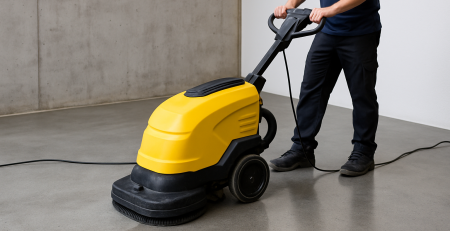
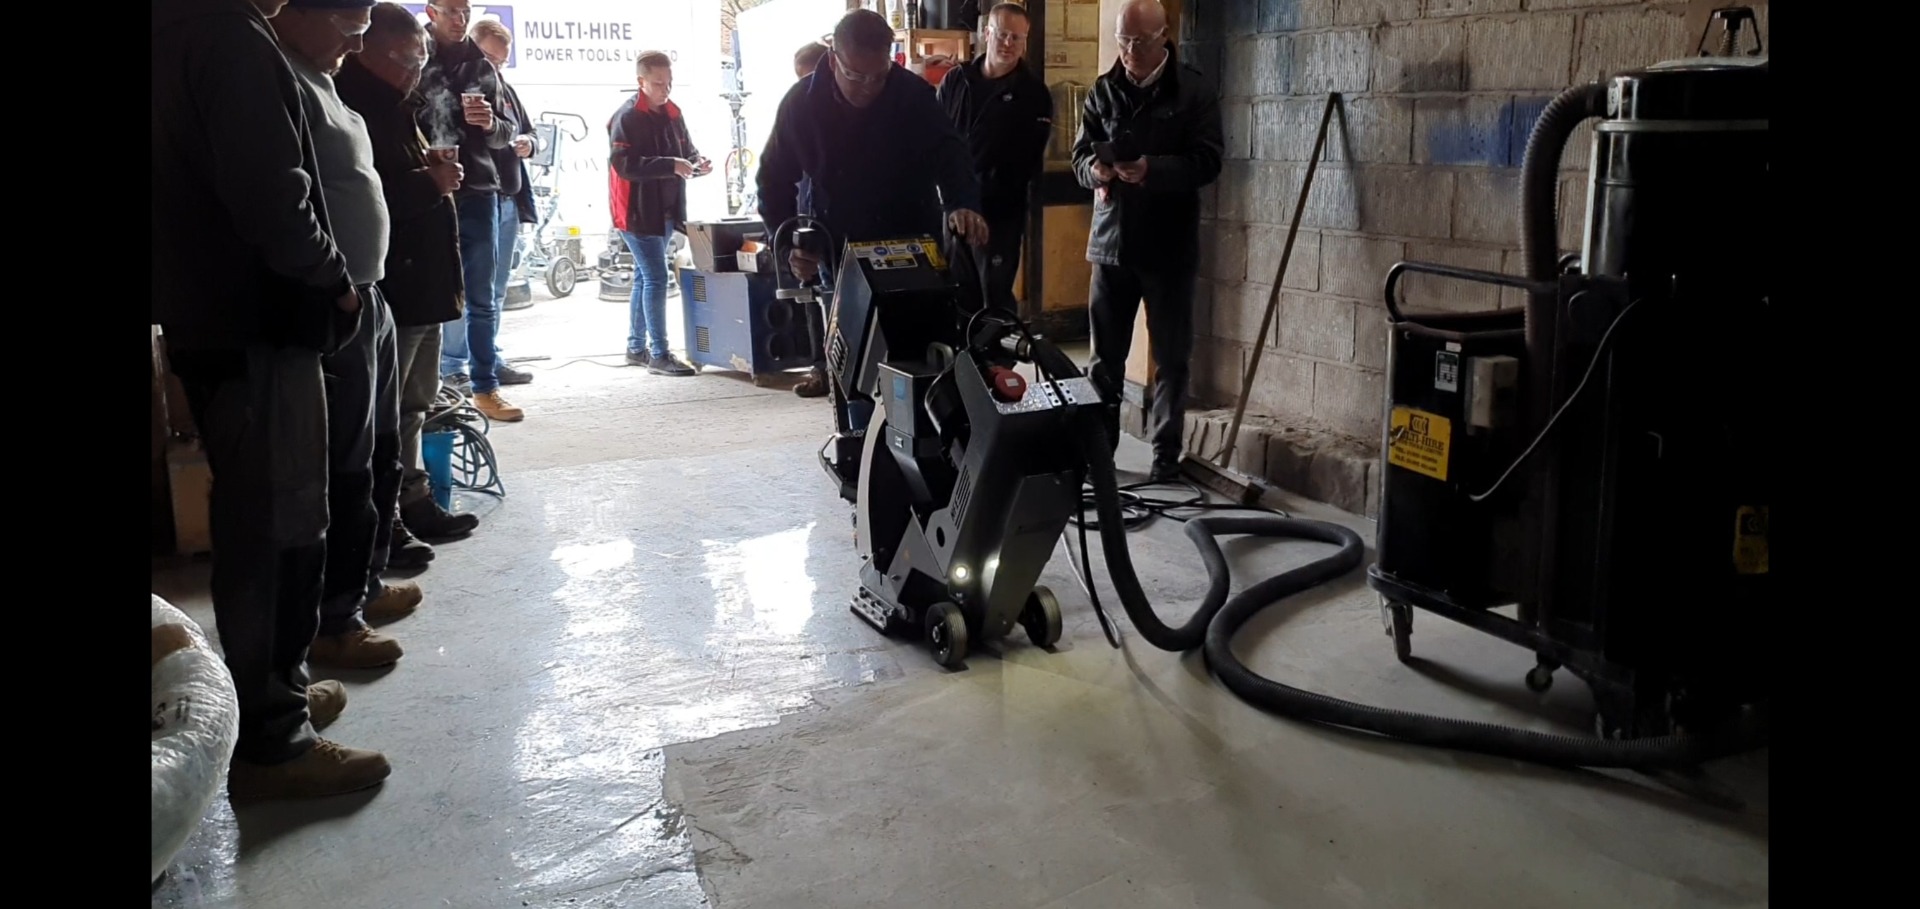
How to use a Shot Blaster
Using a shot blaster for floors is a straightforward process, but it requires careful preparation and handling to achieve the best results. Here’s a step-by-step guide to help you use a shot blaster effectively for floor preparation:
1. Preparation
Safety Gear:
- Wear proper safety equipment such as:
- Eye protection (goggles, glasses or face shield)
- Hearing protection (Ear defenders or earplugs)
- Respirator or dust mask (to protect from airborne dust)
- Steel-toed boots and gloves
- Protective clothing (to avoid getting hit by debris or dust)
Surface Preparation:
- Clear the area: Move all furniture, equipment, or obstacles from the floor. Use the magnet to make sure all metal objects are removed from the area.
- Protect nearby areas: Cover walls, windows, and other surfaces you don’t want to blast with plastic sheeting or tarps.
- Check the floor: Ensure the floor is free of large debris or cracks that might interfere with the shot blasting process. Larger items like nails or debris should be removed first to prevent damage to the machine.
2. Set Up the Shot Blaster
- Inspect the machine: Before using it, inspect the shot blaster for any visible damage or maintenance issues. Ensure that the abrasive material is loaded properly by loading it into the hopper below the gauze.
- Check settings: Many shot blasters have adjustable settings to control the intensity of the blasting. Set the intensity based on the floor’s condition. Higher intensity is needed for tougher coatings or very rough floors.
- Connect power source: plug the shot blaster in and connect the vac hose to the outlet.
3. Operating the Shot Blaster
Test the Machine:
- Before starting the actual work, it’s a good idea to test the shot blaster in a small, inconspicuous area to make sure it is functioning properly, and you understand how the machine behaves.
Start Shot Blasting:
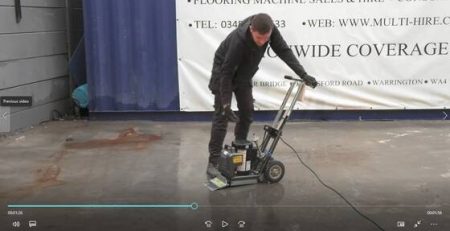
- Begin at one corner: Start at one edge of the room, working your way toward the exit. This will prevent you from getting trapped in a corner.
- Move steadily: Push the shot blaster at a consistent pace. Moving too fast might leave some spots untreated, while moving too slowly could damage the floor.
- Open the blaster: When the machine starts moving either pull the leaver or push it (depending on the model). The more the lever is moved the more shot will hit the floor. It’s a good idea to start low as you can always blast the area again.
- Overlap passes: Each pass should slightly overlap with the previous one to ensure an even surface texture and coverage.
- Keep the machine moving: Never let the machine sit in one spot for too long, as this can create an uneven surface or cause unnecessary wear on the floor.
- Maintain distance: Keep a consistent distance between the machine and the floor to ensure even blasting. Check the manufacturer’s guidelines for optimal working height.
Watch the Dust:
- Shot blasting generates a lot of dust, especially when working with concrete or older coatings. If your shot blaster has a dust collection system, make sure it’s functioning properly. If not, you may need to use an additional vacuum or dust extractor.
4. Finish the Floor
- Check the surface: After you’ve covered the entire floor, inspect the surface to ensure it is uniformly prepared. The floor should have a rough texture, and any old coatings or debris should be removed.
- Do a final pass: If needed, do a light final pass to even out the texture or ensure any missed spots are addressed.
5. Clean Up
- Vacuum debris: After the shot blasting, vacuum or sweep up the loose debris, dust, and shot material. You can use the magnet to collect any loose shot off the floor.
- Clean the machine: Thoroughly clean the shot blaster to remove any remaining abrasive material or dust. Check the dust collection system to ensure it is empty.
- Dispose of waste properly: Follow proper procedures for disposing of waste materials like abrasive media and dust, especially if they contain hazardous substances.
6. Post-Job Inspection
- Inspect the floor: After shot blasting, the floor should be clean, textured, and ready for whatever subsequent treatment you plan to apply (such as coatings or sealers).
Additional Tips:
- Avoid using the shot blaster on delicate floors: If you’re working on softer surfaces (like wood or tiles), a shot blaster might cause damage. Always test first and consult the manufacturer for recommendations.
- Maintain a consistent speed: Inconsistent speed while operating the blaster can lead to uneven results and might require extra work later.
By following these steps, you can safely and effectively use a shot blaster to prepare floors for coatings, remove old finishes, or create a non-slip surface. Always refer to the specific machine’s manual for any machine-specific guidelines or adjustments.
In conclusion, choosing the right floor shot blaster for your project involves carefully considering several key factors, including the type of flooring, the size of the area, the level of surface preparation required, and the machine’s power source and abrasives. For smaller, lighter jobs, a compact, 110v powered model may be sufficient, while larger, heavy-duty projects will require more robust, 415v machines with a higher production rate. Additionally, factors like manoeuvrability, dust control and size play an important role in ensuring a smooth and efficient process. Understanding your specific needs, such as the desired surface profile and the scale of the job, will help guide you in selecting the right shot blaster for the job. Ultimately, investing in the right equipment will ensure better results, efficiency, and long-term durability for your floor preparation projects.
If you are still on sure, want more information or a comprehensive tailored quote for your specific problem then get in touch with us using the advice tab.