Grinding Concrete Floors
Luke Harrison2025-04-23T20:39:39+01:00
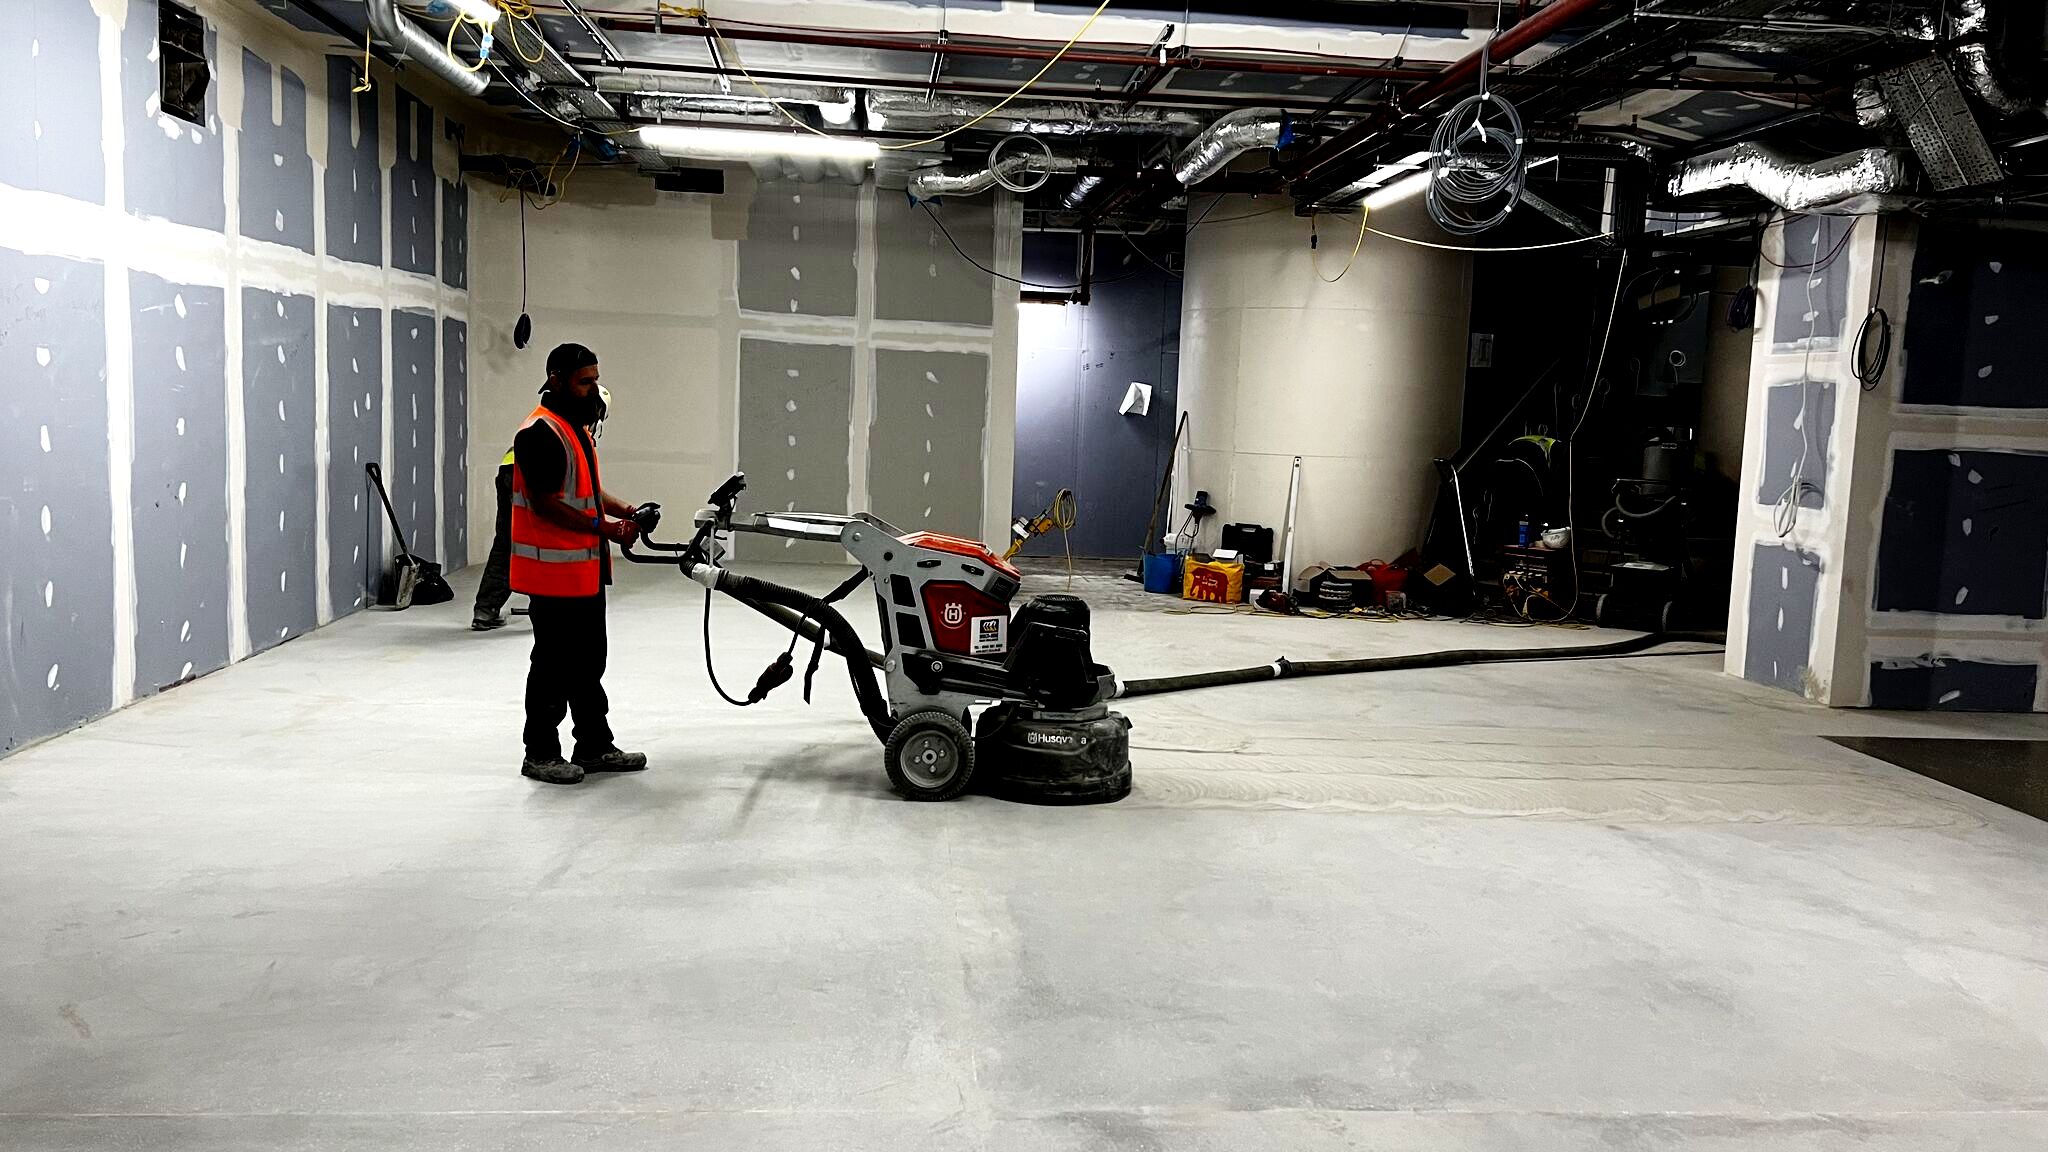
Grinding Different Types of Concrete Floors.
Concrete is an essential step in preparing a surface for different types of flooring, whether it’s for polishing, removing imperfection or smoothing the surface. The process varies depending on the type of flooring you’re preparing for, such as tiles, hardwood, epoxy, or polished concrete. Here’s a general guide for different types of flooring:
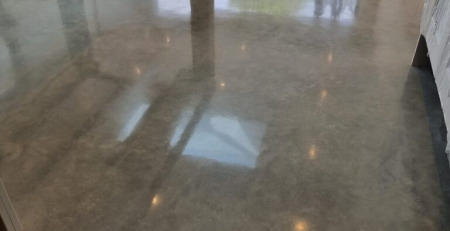
Grinding Concrete for Polished Concrete Flooring
-
- Objective: Achieve a smooth, shiny surface.
-
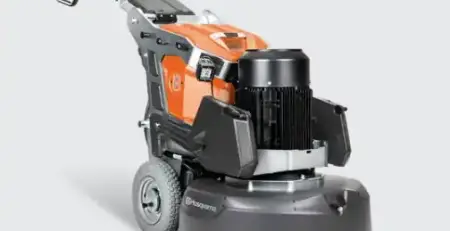
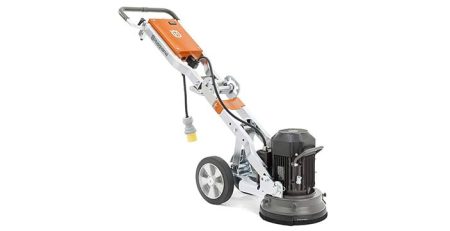
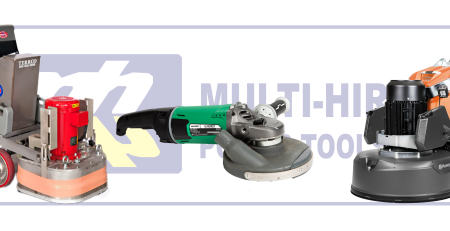
- Tools:
-
- Process:
-
- Prep the Area: Clean the concrete floor thoroughly, removing dust, dirt, and debris.
-
- Coarse Grinding: Start with a coarse diamond grinding pad such as a 30 or 50 grit, to remove any rough surface, stains or imperfections.
-
- Fine Grinding: Then switch to finer pads, 100-grit then 200-grit, for a smoother finish. Continue until you achieve the desired level of smoothness.
-
- Densifying: To harden the concrete ready for the next steps.
-
- Polishing: For a high-gloss finish, continue with finer grits, 400 up to 1500-grit, and apply a concrete densifier.
-
- Sealing: After grinding and polishing, apply a concrete sealer to protect the surface.
-
- Process:
Grinding Concrete for Tile Installation
-
- Objective: Level the floor and remove any high spots or old adhesive.
-
- Tools:
Concrete grinder, or a scabbler.
-
- Process:
-
- Clean the Floor: Remove any dust, dirt, or previous flooring materials.
-
- Level the Surface: Use a diamond grinder to remove any high spots or unevenness on the concrete, or a scabbler for extreme undulations.
-
- Check for Imperfections: Make sure the surface is level using a long straightedge or level.
-
- Process:
Grinding Concrete for Epoxy Flooring
-
- Objective: Create a scratched surface for the epoxy to bond effectively.
-
- Tools:
-
- Process:
-
- Clean the Concrete: Sweep or vacuum the floor to remove any debris.
-
- Use a Grinder: Use a medium grit, 30-50 grit diamond pad. The goal is to create a slightly rough texture, so the epoxy bonds well. For heavy removal you can use PCDs first. A triple head grinder doesn’t leave swirl marks or gouge the floor, leaving marks visible through the epoxy paint.
-
- Dust Removal: Thoroughly clean the surface to remove any dust and debris before applying the epoxy.
-
- Process:
Grinding Concrete for Hardwood Flooring Installation
-
- Objective: Prepare the concrete to provide a level and smooth surface for hardwood adhesives.
-
- Tools:
-
- Process:
-
- Clean the Concrete: Remove any debris, dust, or previous flooring adhesives.
-
- Level the Surface: Use a grinder with 30 g diamond shoes to smooth out any undulations and imperfections.
-
- Vacuum: Ensure that the surface is free of dust and debris before laying down the hardwood flooring.
-
- Process:
Grinding Concrete for Carpet Installation
-
- Objective: Smooth and clean the concrete to prepare for carpet adhesives.
-
- Tools:
-
- Process:
-
- Remove Old Carpet Adhesive: If the old carpet adhesive remains, use a floor grinder with PCDs to remove it.
-
- Level the Surface: If there are any imperfections or high spots, use a grinder to level the surface with 30g grinding shoes.
-
- Clean: Vacuum the area thoroughly to remove dust and debris.
-
- Process:
General Tips:
-
- Always wear safety gear, including goggles, a dust mask, and ear protection. Floor grinding generates a lot of health hazardous dust.
-
- Use a vacuum with a performance level adequate for the floor grinder.
-
- A single head grinder can be used if the floor covering is hard, like ceramics or wood. For softer covering like epoxy paint, vinyl or polished concrete then use a triple head grinder.
-
- If you are unsure, get in touch. We are more than happy to help and give free advice.
In conclusion, grinding concrete is an essential step in preparing surfaces for various flooring types, and the approach depends largely on the flooring material you’re working with. Whether you’re preparing for polished concrete, tiles, epoxy, hardwood, or carpet, the key steps include cleaning the surface, levelling or smoothing imperfections, and using the appropriate grit pads or grinding tools for the desired finish. Ensuring the surface is prepped correctly not only enhances the bonding of adhesives and coatings but also helps achieve a more professional, long-lasting floor installation. By following the right procedures and using the correct tools, you can effectively create a solid foundation for your flooring projects, leading to better results and a smoother final product. Always prioritize safety throughout the process, and if needed, don’t hesitate to consult a professional to achieve the best outcome.